Low-Voltage Wiring Diagrams Made Simple for DIY Projects
Low-Voltage Wiring Diagrams Made Simple for DIY Projects
Ever looked at a jumble of wires and felt a wave of confusion wash over you? You're not alone. Many homeowners and DIYers shy away from electrical projects, especially when diagrams and complex-looking cables are involved. But fear not! Working with low-voltage systems can be surprisingly accessible and rewarding.
Low-voltage wiring is the backbone of many modern conveniences, from your home theater setup and internet connection to your security system and landscape lighting. Understanding the basics empowers you to tackle small upgrades, troubleshoot issues, and even install entire systems yourself, safely and confidently. This guide will demystify low-voltage wiring diagrams and give you the knowledge you need to embark on your next DIY adventure.
Understanding Low-Voltage vs. High-Voltage
Before diving into diagrams, let's clarify what "low-voltage" means in this context. Typically, we're talking about systems operating at 50 volts or less. Common examples include: Networking (Ethernet): For your internet and local network connections. Security Systems: Including cameras, sensors, and alarm panels. Home Automation: Controlling lights, thermostats, and other smart devices. Landscape Lighting: Illuminating your yard and walkways. Audio/Visual: Connecting speakers, TVs, and other entertainment components. Doorbell Systems: Wired doorbells and intercoms.
The key difference between low-voltage and high-voltage (like your household 120V or 240V circuits) is the risk involved. While still important to handle carefully, low-voltage presents a significantly lower risk of electric shock. This makes it a more approachable area for DIY projects, butalways disconnect power before working on any electrical circuit.
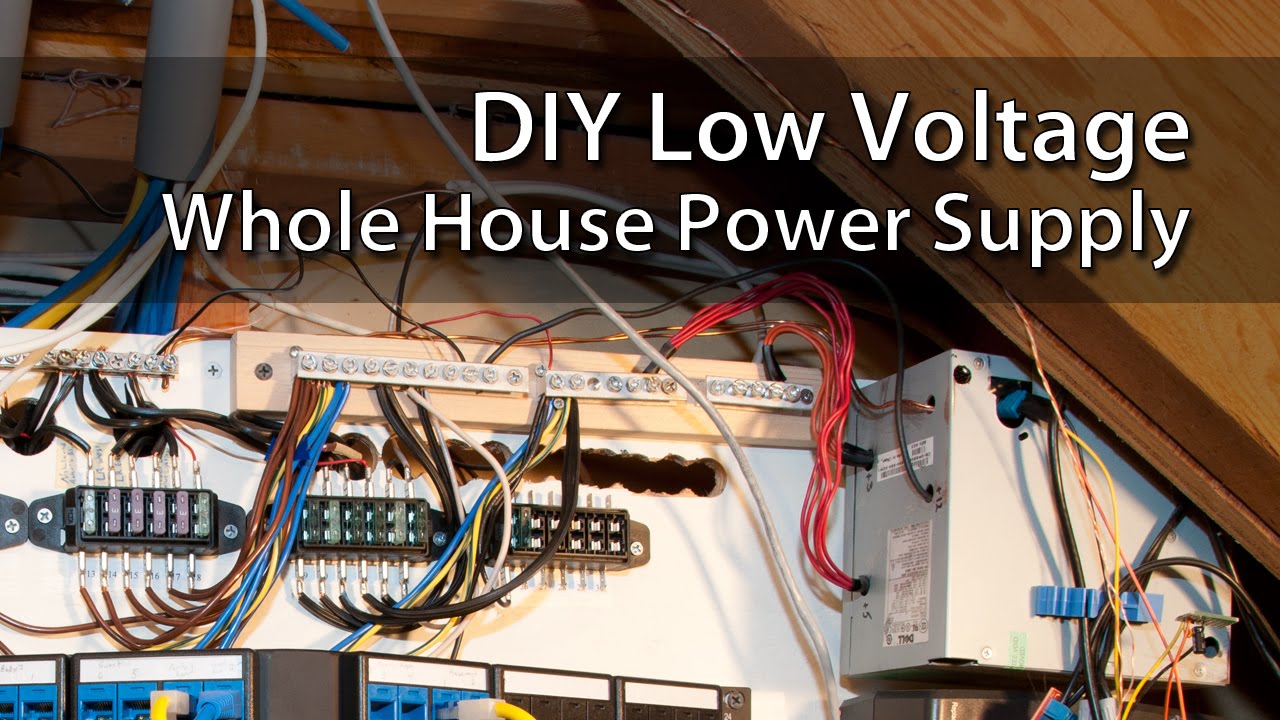
Deciphering Low-Voltage Wiring Diagrams
Wiring diagrams are roadmaps for electrical circuits. They show you how components are connected, ensuring everything works as intended. Understanding these diagrams is crucial for successful installation and troubleshooting. Here’s a breakdown: Symbols: Each component (resistors, capacitors, switches, etc.) has a specific symbol. Become familiar with the common symbols used in low-voltage wiring, such as those for power supplies, lights, sensors, and network jacks. Lines: Lines represent wires connecting the components. The thickness of the line doesn't usually indicate wire gauge in low-voltage diagrams. Labels:Diagrams often include labels indicating wire colors, voltage levels, and component specifications. Pay close attention to these labels to ensure proper connections.
Actionable Tip: Start with simple diagrams. Practice identifying the symbols and tracing the connections. Online resources, manufacturer manuals, and even dedicated apps can help you learn common electrical symbols.
Essential Tools and Materials
Having the right tools makes all the difference in the success and safety of your low-voltage wiring projects. Here’s a list of essentials: Wire Strippers: Specifically designed for low-voltage wires, allowing you to remove insulation without damaging the conductor. Crimping Tool: Used to attach connectors (like RJ45 for Ethernet) to wires securely. Multimeter: A must-have for testing voltage, continuity, and resistance. Essential for troubleshooting. Voltage Tester: A non-contact voltage tester can quickly verify if a wire is live before you start working. Cable Tester: Useful for testing Ethernet cables and other data cables to ensure they're properly wired and functioning. Screwdrivers: A variety of sizes, including Phillips and flathead. Pliers: Needle-nose pliers are particularly helpful for working in tight spaces. Wire Connectors: Choose the appropriate connectors for your specific project (e.g., wire nuts, butt connectors, RJ45 connectors). Low-Voltage Wire: Use the correct gauge and type of wire for your application. Common types include Cat5e/Cat6 for networking, speaker wire for audio, and thermostat wire for HVAC systems. Cable Ties and Management: Keep your wiring neat and organized with cable ties, zip ties, and cable management accessories.
Safety Guidance: Always wear safety glasses when working with wires. Disconnect power before working on any electrical circuit.
Step-by-Step: Wiring a Simple Security Camera System
Let's walk through a practical example: installing a wired security camera system. While specific steps will vary based on your chosen system, the general process is similar:
1.Plan Your Layout: Determine the placement of your cameras and recording device (DVR/NVR). Consider factors like viewing angles, power availability, and cable routing.
2.Run the Cables: Run the necessary cables (typically coaxial or Ethernet) from the camera locations to the recording device. Secure the cables along walls or ceilings using cable clips or ties.
3.Connect the Cameras: Connect the cameras to the cables using the appropriate connectors (BNC connectors for coaxial, RJ45 for Ethernet). Ensure the connections are secure.
4.Connect the Recording Device: Connect the cables to the corresponding ports on the DVR/NVR.
5.Power the System: Connect the power adapter to the recording device and the cameras (if they require separate power).
6.Configure the System: Turn on the recording device and follow the manufacturer's instructions to configure the cameras, recording settings, and other options.
7.Test the System: Verify that all cameras are working correctly and that the recording device is capturing footage.
Wiring Troubleshooting Tip: If a camera isn't working, check the connections at both ends of the cable. Use a multimeter to verify that power is reaching the camera. If you're using Ethernet cables, a cable tester can help identify any wiring issues.
Best Practices for Cable Management
Proper cable management is essential for a clean, organized, and safe low-voltage wiring installation. Here are some tips: Bundle and Secure Cables: Use cable ties or zip ties to bundle cables together, preventing them from tangling and making them easier to manage. Label Cables: Label each cable at both ends to easily identify its purpose. This is especially helpful for troubleshooting and future modifications. Use Cable Management Accessories: Utilize cable trays, raceways, and other accessories to route cables neatly along walls and ceilings. Avoid Sharp Bends: Avoid bending cables sharply, as this can damage the wires and impair performance. Use gentle curves instead. Keep Cables Away from Heat Sources: Avoid running cables near heat sources, such as furnaces or water heaters, as excessive heat can damage the insulation. Plan Your Routing: Before you start, plan your cable routing carefully to minimize the amount of cable needed and to avoid obstacles.
Smart Home Systems Wiring Considerations
Integrating smart home technology involves a bit more planning, but the core principles of low-voltage wiring still apply. Common smart home devices rely on: Wi-Fi: While wireless, many smart devices benefit from a wired Ethernet connection for improved reliability and speed, especially for devices like smart TVs and security cameras. Zigbee/Z-Wave: These wireless protocols are often used for home automation devices like lights, sensors, and thermostats. Power over Ethernet (Po E):This allows you to power devices like security cameras and Vo IP phones through the Ethernet cable, simplifying installation.
Home Automation Wiring Tip: Consider using a structured cabling system with a central distribution panel. This allows you to easily manage and reconfigure your network connections as your smart home evolves.
Internet Cabling for Home Networks
A robust home network is crucial for today's connected homes. Here are some key considerations for internet cabling: Cat5e vs. Cat6: Cat6 offers better performance and bandwidth than Cat5e, making it a better choice for future-proofing your network. Solid Core vs. Stranded Core: Solid core cable is typically used for permanent installations, while stranded core cable is more flexible and suitable for patch cables. Termination:Proper termination of Ethernet cables is essential for optimal performance. Use a high-quality crimping tool and follow the T568A or T568B wiring standard.
People Also Ask
What is the best wire gauge for low-voltage landscape lighting?
For most landscape lighting applications, 12-gauge or 14-gauge wire is sufficient. The appropriate gauge depends on the total wattage of the lights and the distance from the power supply. Consult a voltage drop calculator to determine the best wire gauge for your specific setup.
Can I run low-voltage wiring alongside high-voltage wiring?
It's generally not recommended to run low-voltage wiring alongside high-voltage wiring, as this can introduce interference. If you must run them in close proximity, use shielded cable for the low-voltage wiring and maintain a minimum separation distance.
How do I test low-voltage wiring for continuity?
Use a multimeter set to the continuity setting. Disconnect power from the circuit and touch the probes to the ends of the wire you want to test. If the multimeter beeps or shows a low resistance, the wire has continuity.
Conclusion
Working with low-voltage wiring doesn't have to be intimidating. By understanding the basics of wiring diagrams, using the right tools, and following best practices for cable management, you can confidently tackle a wide range of DIY projects, from setting up a home theater to installing a security system. Remember to prioritize safety and always disconnect power before working on any electrical circuit. With a little knowledge and practice, you'll be amazed at what you can achieve. So grab your tools, study those diagrams, and start wiring!
Posting Komentar untuk "Low-Voltage Wiring Diagrams Made Simple for DIY Projects"