The Ultimate Guide to Low-Voltage Wiring for Smart Lighting
The Ultimate Guide to Low-Voltage Wiring for Smart Lighting
Ever wondered how those cool smart lights in your neighbor’s yard magically turn on at dusk? Or how your indoor smart bulbs dim perfectly to set the mood for movie night? The answer often lies in the unsung hero of modern convenience: low-voltage wiring.
Low-voltage wiring is the backbone of many smart home systems, offering a safe and efficient way to power and control various devices, especially lighting. Understanding the basics of this type of wiring – from installation best practices to troubleshooting common issues – can empower you to enhance your home's functionality, improve energy efficiency, and boost your overall smart home experience. This guide will walk you through everything you need to know to confidently tackle low-voltage wiring projects related to your smart lighting setup, ensuring a seamless and safe integration.
Understanding the Basics of Low-Voltage Wiring
Before diving into projects, let’s clarify what we mean by "low-voltage." Generally, this refers to circuits operating at 50 volts or less. Common applications include: Smart Lighting Systems: Controlling LED strips, spotlights, and individual smart bulbs. Security Systems: Powering cameras, sensors, and alarm systems. Home Automation Wiring: Connecting smart thermostats, doorbells, and other devices. Landscape Lighting: Illuminating pathways, gardens, and outdoor features. Internet Cabling:Providing network connectivity through Ethernet cables.
The advantages of low-voltage wiring are numerous. It's generally safer to work with than standard 120V household wiring, reducing the risk of electric shock. It's also more energy-efficient, allowing you to power numerous devices without significant energy consumption. Furthermore, low-voltage systems are typically easier to install and modify, making them ideal for DIY enthusiasts.
However, just because it's low-voltage doesn't mean you can skip safety precautions. Always disconnect power before working on any electrical circuit, and carefully follow manufacturer instructions.
Planning Your Low-Voltage Smart Lighting Project
Careful planning is essential for a successful outcome. Here’s a step-by-step approach:
1.Define Your Needs: Determine what you want to achieve with your smart lighting. Are you looking to install under-cabinet lighting in the kitchen? Landscape lighting in the garden? Or perhaps a complete smart home system with voice-controlled lighting throughout the house?
2.Create a Wiring Diagram: Sketch out a detailed diagram of your proposed wiring layout. This should include the location of each light fixture, the power source (transformer), and any control devices like dimmers or switches. Consider the length of each wire run, as voltage drop can become an issue over long distances.
3.Calculate Voltage Drop: Use an online voltage drop calculator to ensure that your chosen wire gauge is sufficient for the length of the run. Voltage drop occurs when the voltage decreases along the length of the wire, potentially causing lights to dim or malfunction.
4.Select the Right Wire: Use the appropriate type and gauge of wire for your project. Common types include CL2 or CL3 rated wire for in-wall installations and direct burial wire for outdoor applications. Consult local electrical codes and manufacturer recommendations for specific requirements.
5.Choose the Correct Transformer: Select a transformer that provides the correct voltage and wattage for your lighting system. Ensure it has enough capacity to handle the total wattage of all connected lights, with a bit of headroom for future expansion.
6.Gather Your Tools and Materials: Before you begin, assemble all the necessary tools and materials, including wire strippers, crimpers, wire connectors, a multimeter, a voltage tester, and safety glasses.
Step-by-Step Guide to Installing Low-Voltage Wiring for Smart Lighting
Once you have your plan in place, you can start the installation process. Here’s a general outline:
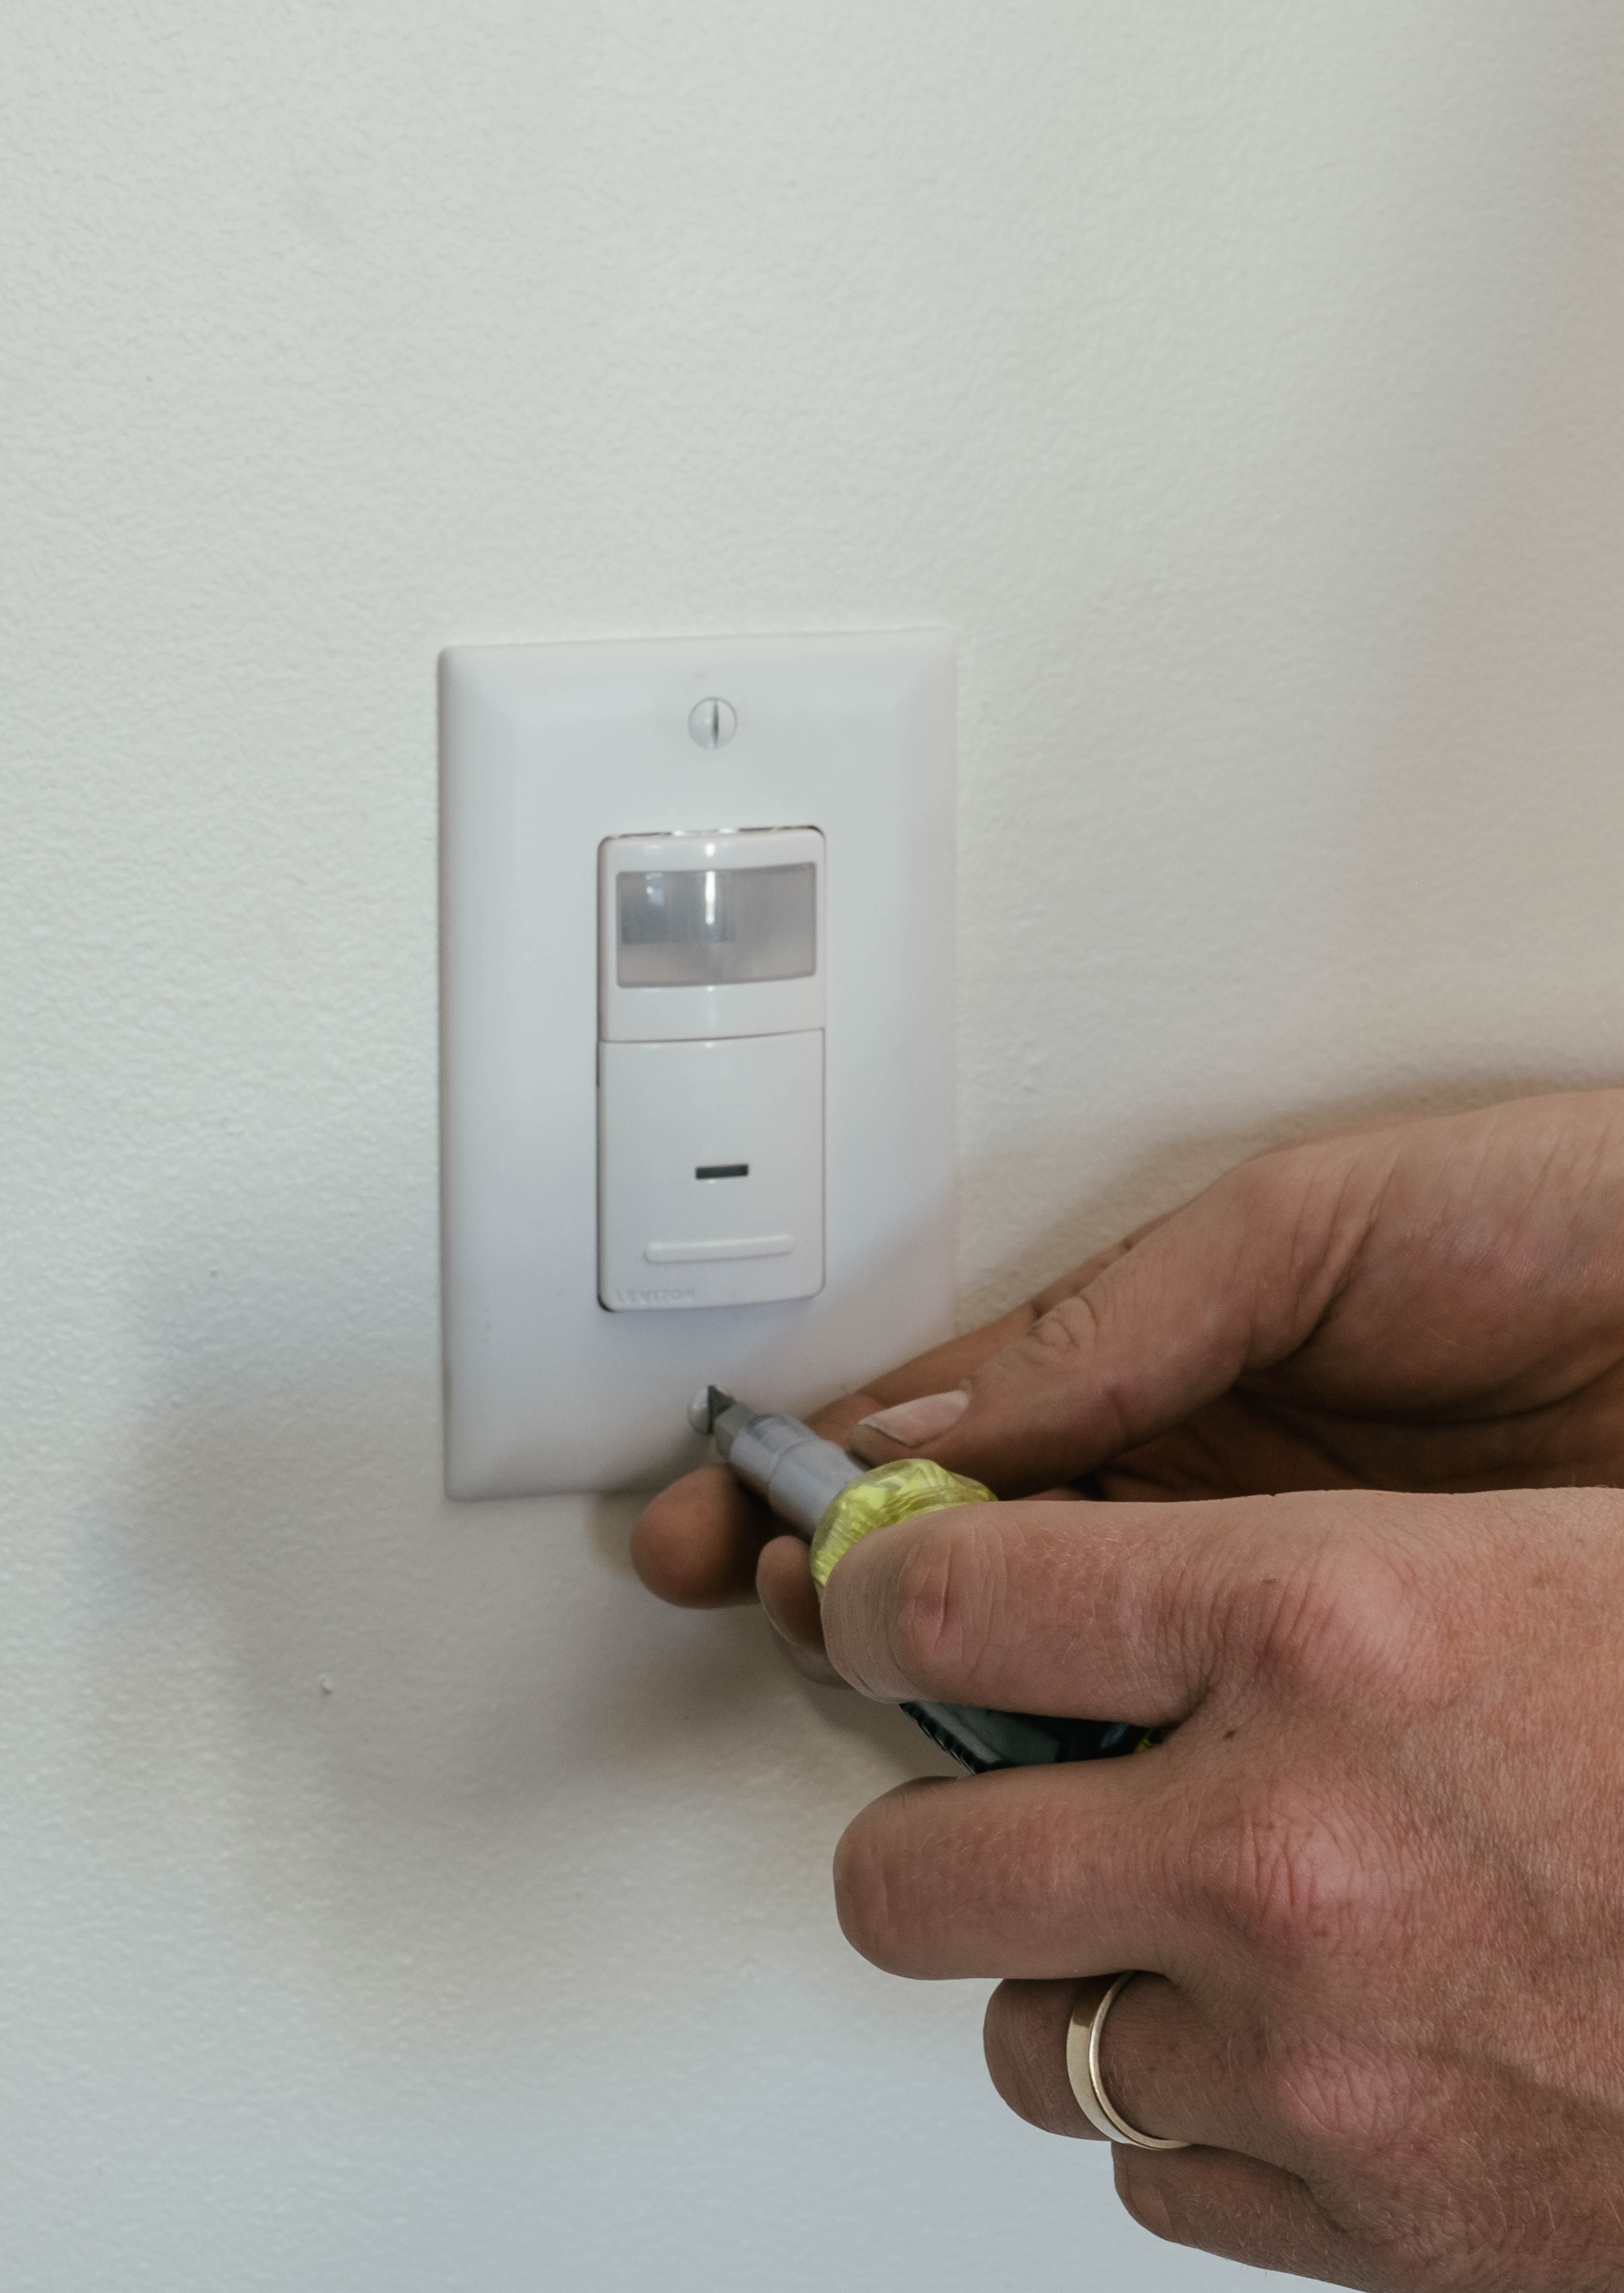
1.Disconnect Power: Always turn off the power to the circuit you'll be working on at the breaker box. Use a voltage tester to confirm that the power is off.
2.Mount the Transformer: Install the transformer in a suitable location, following the manufacturer's instructions. Make sure it is properly grounded.
3.Run the Wiring: Carefully run the low-voltage wiring from the transformer to each light fixture, following your wiring diagram. Use cable staples or clips to secure the wiring and prevent it from sagging or tangling.
4.Connect the Wires: Use appropriate wire connectors (e.g., wire nuts, crimp connectors) to connect the wires to the light fixtures and control devices. Ensure that all connections are tight and secure.
5.Test the System: After completing the wiring, turn the power back on and test the system. Use a multimeter to verify that the voltage at each light fixture is within the acceptable range. Check that all lights are functioning correctly and that any dimmers or switches are operating smoothly.
6.Cable Management: Organize and secure all wiring with zip ties, cable trays, or other cable management solutions. This will keep your wiring neat, prevent damage, and make future maintenance easier.
7.Labeling: Label all wires and connections clearly. This is extremely helpful for future troubleshooting and maintenance.
Safety Tips for Working with Low-Voltage Wiring
While low-voltage wiring is generally safer than high-voltage wiring, it’s still essential to follow safety precautions: Always disconnect power: Before working on any electrical circuit, turn off the power at the breaker box and confirm that the power is off with a voltage tester. Wear safety glasses: Protect your eyes from debris and accidental wire splinters. Use insulated tools: Use tools with insulated handles to prevent electric shock. Follow local electrical codes: Ensure that your wiring complies with all applicable local electrical codes. Inspect wiring regularly: Periodically inspect your low-voltage wiring for signs of damage or wear. Replace any damaged wiring immediately. Don't overload circuits: Ensure that your transformer and wiring are capable of handling the total wattage of all connected lights and devices.
Troubleshooting Common Low-Voltage Wiring Issues
Even with careful planning and installation, problems can sometimes arise. Here are some common issues and how to troubleshoot them: Lights are dim: This could be due to voltage drop. Check the wire gauge and length of the run. Consider using a thicker gauge wire or shortening the run. Lights don't turn on: Check the power supply, wiring connections, and light bulbs. Use a multimeter to verify that voltage is present at the light fixture. Lights flicker: This could be caused by loose wiring connections or a faulty transformer. Inspect all connections and replace the transformer if necessary. Transformer hums loudly: This could indicate an overload or a problem with the transformer itself. Reduce the load or replace the transformer. Security wiring issues:For security systems, make sure all sensors are securely connected and that the wiring hasn't been damaged by pests or weather.
Maintaining Your Low-Voltage Smart Lighting System
Regular maintenance can help prolong the life of your smart lighting system and prevent problems from occurring. Here are some tips: Inspect wiring regularly: Check for signs of damage, such as frayed wires, loose connections, or corrosion. Clean light fixtures: Keep your light fixtures clean to ensure optimal brightness and prevent overheating. Replace light bulbs promptly: Replace burned-out light bulbs promptly to maintain consistent lighting levels and prevent strain on the transformer. Protect wiring from the elements: For outdoor applications, ensure that your wiring is protected from moisture, sunlight, and extreme temperatures. Test your security system periodically:Regularly test your security system to ensure that all sensors and alarms are functioning correctly.
People Also Ask
Can I extend existing low-voltage wiring?
Yes, you can typically extend existing wiring. However, ensure that the added load doesn't exceed the transformer's capacity and that the wire gauge is sufficient for the new run length. Always disconnect power before making any modifications.
What type of wire should I use for landscape lighting?
For landscape lighting, use direct burial wire that is specifically rated for outdoor use. This type of wire is designed to withstand moisture, sunlight, and soil conditions.
How do I protect low-voltage wiring from animals?
To protect your wiring from animals, use conduit or bury the wiring underground. You can also wrap the wiring with a protective sleeve or apply a rodent repellent.
Embracing the Potential of Smart Home Systems
Low-voltage wiring is more than just a way to power lights; it's the foundation for a modern, efficient, and connected home. By understanding the principles outlined in this guide, you can confidently install, maintain, and troubleshoot your low-voltage smart lighting system. You're not just wiring lights; you're building a smarter, more comfortable living space. With the right knowledge and tools, you can unlock the full potential of home automation wiring and enjoy the benefits of a truly intelligent home. Now go ahead, grab your tools, and illuminate your world!
Posting Komentar untuk "The Ultimate Guide to Low-Voltage Wiring for Smart Lighting"